WordPress Security & Malware Removal: How to Clean Hacked Sites & Stop Reinfection (2025 Guide)
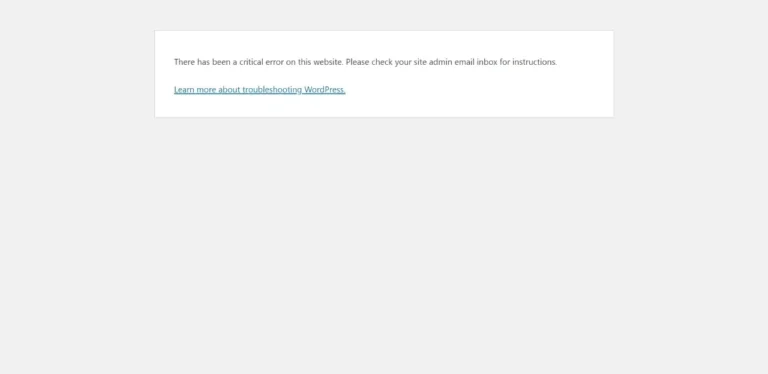
Your stomach drops. You open your WordPress site and see content you never created. Spam links everywhere. Strange redirects. Or worse, a red “Deceptive Site Ahead” warning from Google blocking all your visitors.
Your site has been hacked. Every second it stays infected costs you traffic, revenue, and the trust you worked years to build.
At WebFixHQ, we handle WordPress security emergencies every day. This guide shows you exactly how to clean infected sites, restore Google’s trust, and prevent hackers from coming back. Whether you handle it yourself or need professional help, you’ll know what to do right now.
Why WordPress Sites Get Hacked
WordPress powers 43% of all websites. That makes it the number one target for hackers worldwide. Over 30,000 WordPress sites get hacked every day.
It’s not because WordPress is insecure. It’s because outdated plugins, weak passwords, and vulnerable themes create easy entry points.
Why hackers target WordPress sites:
- SEO spam injections that hijack your Google rankings
- Phishing pages that steal visitor credit cards and logins
- Backdoor installations for long-term access
- Redirect attacks that send your traffic to malicious sites
- Botnet recruitment turning your server into a spam hub
- Ransomware that locks you out until you pay
The damage happens fast. A hacked WordPress site loses 95% of traffic while blacklisted by Google. Online stores lose thousands in sales daily. Your brand reputation takes months to repair.
If you’re seeing security warnings, spam content, or suspicious redirects right now, WebFixHQ Security & Malware Removal can clean your site same-day and restore Google trust before permanent damage happens.
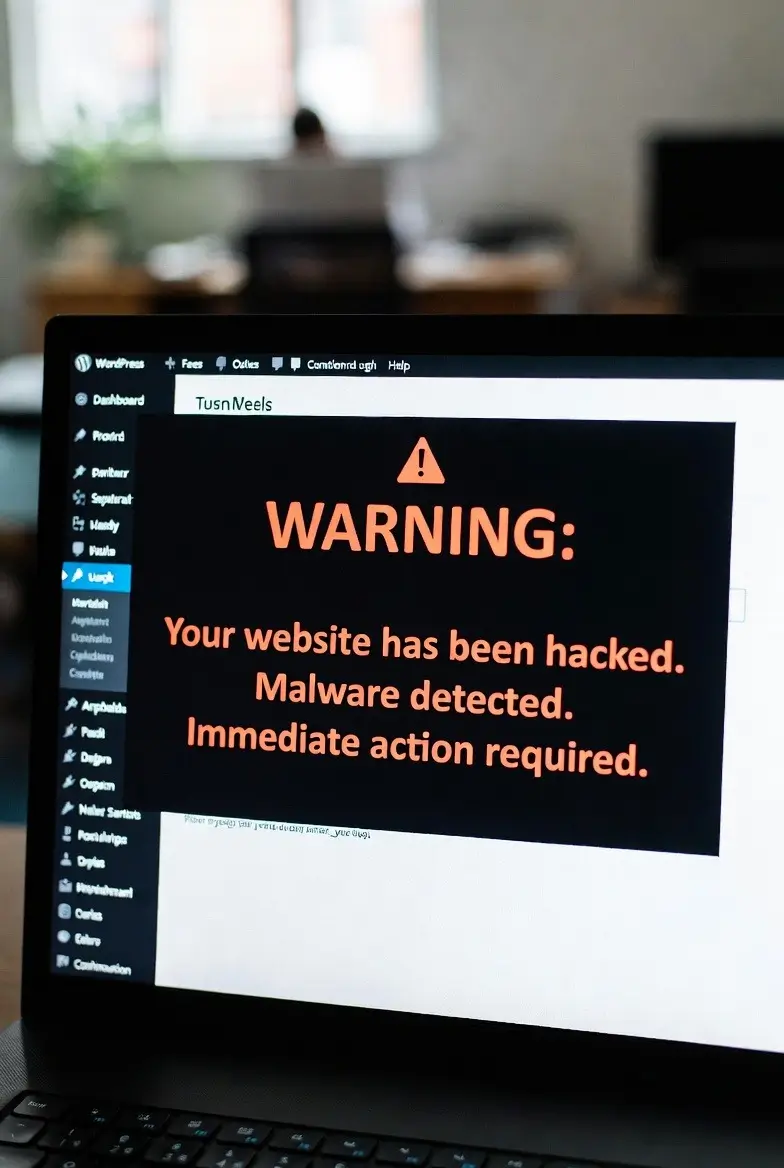
Warning Signs Your WordPress Site Is Infected
Many WordPress malware infections hide for weeks before you notice. Catching these signs early prevents catastrophic damage.
Google Blacklist & Browser Warnings
“Deceptive Site Ahead” or “This site may harm your computer” are the worst malware symptoms. Google detected malicious content and is actively blocking visitors.
What triggers Google blacklists:
- Malware-infected files detected by Google’s crawlers
- Phishing pages harvesting user credentials
- Drive-by download attacks installing viruses
- Spam injections redirecting to known malicious sites
Once blacklisted, you lose 95% of organic traffic immediately. Getting removed requires thorough cleanup plus manual review, taking 3-7 days even after cleaning.
Spam Injections & Unwanted Content
You log in and discover content you never created:
- Pharmaceutical spam links in your footer
- Hidden pages selling counterfeit products
- Spam comments with suspicious links
- Foreign language content in your posts
- Pop-up ads you never installed
These SEO spam injections destroy your search rankings. Google penalizes sites distributing spam, dropping you from search results even after cleanup.
Suspicious Redirects & Popup Ads
Your visitors report strange behavior:
- Clicking your site redirects to gambling sites
- Aggressive popup ads covering content
- Mobile users redirected while desktop works fine
- Your affiliate links replaced with hacker links
Redirect malware is sneaky because hackers often configure it to only hit search engine visitors or mobile users. You browse normally while every Google visitor gets redirected.
WordPress Admin Lockout & Unauthorized Accounts
Can’t log into your WordPress dashboard? Hackers often change admin passwords or create hidden admin accounts.
You might notice:
- Your password suddenly doesn’t work
- Unknown admin users in your user list
- New accounts with administrator privileges
- Your email changed on the admin account
This is serious because hackers have complete control and can reinstall malware even after cleanup.
Broken Website Design & Defaced Pages
Visual damage is the most obvious malware symptom:
- Homepage replaced with hacker messages
- Broken layouts with missing images
- Strange code visible on pages
- Content deleted or overwritten
Website defacement signals serious security holes that professional attackers can exploit for worse damage.
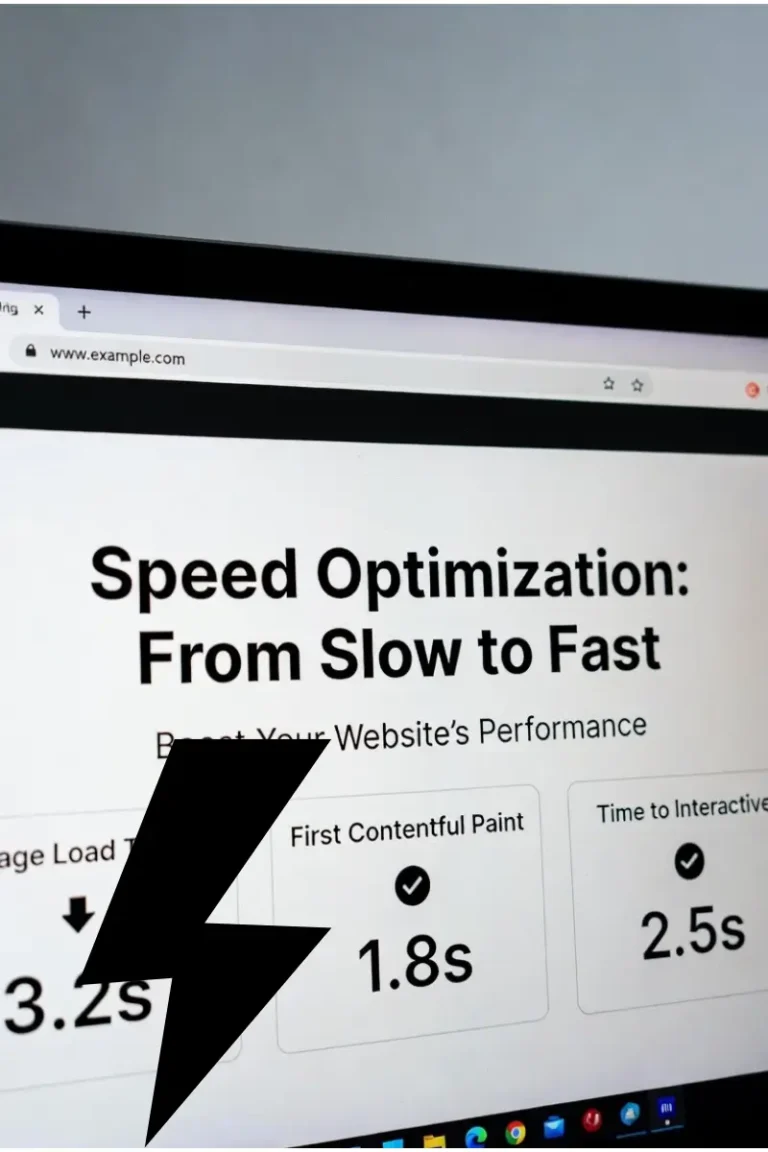
Performance Issues & Strange Server Behavior
Technical symptoms indicating malware:
- Sudden slow load times and crashes
- Unexplained bandwidth spikes (higher hosting bills)
- Unknown files in WordPress directories
- Modified dates on core WordPress files
- Database queries you didn’t create
- Outbound connections to suspicious IPs
These symptoms mean your site might be part of a botnet, used to send spam, launch attacks, or mine cryptocurrency.
How to Remove Malware from WordPress: Step by Step
Cleaning a hacked WordPress site needs a systematic approach, not panic. Follow these steps to prevent mistakes that worsen infections or cause data loss.
Step 1: Take Your Site Offline & Document Everything
Before touching anything, protect visitors and gather information.
Immediate actions:
- Enable maintenance mode to stop visitors from accessing infected pages:
- Use a maintenance mode plugin (WP Maintenance Mode, Coming Soon)
- Or add this to wp-config.php:
define('WP_MAINTENANCE_MODE', true);
- Document everything before making changes:
- Screenshot error messages and malware symptoms
- Note when you first saw the infection
- Record recent changes (new plugins, theme updates, new users)
- Check server logs for suspicious activity
- Verify your backups exist:
- Find your most recent clean backup
- Confirm it’s from BEFORE the infection
- Test that backup files are accessible
Warning: Many malware infections corrupt backups or hide in backup files. Never restore a backup without scanning it first.
Step 2: Scan Your Site for Malware
You need to find malware before you can remove it.
Free WordPress malware scanning tools:
- Wordfence Security (free plugin with malware scanner)
- Sucuri SiteCheck (free online scanner)
- MalCare Security (limited free scanning)
- iThemes Security (basic free scanning)
What to scan:
- All WordPress core files for modifications
- Every plugin and theme file
- wp-content/uploads directory for executable files
- Database tables for injected content
- .htaccess and wp-config.php for malicious code
Common malware hiding places:
- Themes:
wp-content/themes/*/functions.php(often injected) - Plugins:
wp-content/plugins/*/[pluginname].php - Uploads:
wp-content/uploads/*.php(shouldn’t exist!) - Root:
.htaccess,wp-config.php,index.php - Database:
wp_posts,wp_options,wp_userstables
What malware looks like in code:
// Suspicious obfuscated code (Base64 encoded)
eval(base64_decode('aBcd123...'));

// Backdoor functions
if(isset($_POST['cmd'])) { system($_POST['cmd']); }

// Hidden iframe injections
echo '<iframe src="http://malicious-site.com" style="display:none">';
If you find code like this in WordPress files, it’s malware.
Step 3: Remove Malware Files & Clean Infected Code
Now that you identified infected files, systematic removal begins.
Option A: Replace infected WordPress core files
- Download fresh WordPress from wordpress.org (exact version you’re running)
- Delete these folders from your server:
wp-adminandwp-includes - Upload fresh
wp-adminandwp-includesfrom the download - Do NOT delete:
wp-config.php,wp-contentfolder
This replaces all core WordPress files with clean versions.
Option B: Clean infected themes and plugins
For infected themes/plugins, you have three options:
- Delete and reinstall (safest):
- Delete the infected plugin/theme completely
- Reinstall from official WordPress.org
- Reconfigure settings from scratch
- Manual code cleaning (requires expertise):
- Open infected files in a text editor
- Remove ONLY the malicious code from scans
- Verify functionality after each removal
- Compare with clean versions from the repository
- Restore from clean backup (if available):
- Restore only the specific infected files
- Scan restored files before using them
Critical files to manually review:
functions.phpin your active theme.htaccessin your root directorywp-config.php(check for malicious defines)- Any
.phpfiles inwp-content/uploads(delete these!)
Can’t identify what’s malware vs. legitimate code? One wrong deletion breaks your entire site. WebFixHQ Malware Removal identifies and removes only malicious code while preserving your customizations. Most cleanups done same-day with 14-30 day reinfection warranty.
Step 4: Clean Your WordPress Database
Malware doesn’t just infect files. It injects malicious content into your database.
Database cleanup process:
- Backup your database first (use phpMyAdmin or backup plugin)
- Search for common malware injections:
- Open phpMyAdmin from your hosting control panel
- Select your WordPress database
- Search these tables:
wp_posts(spam content in posts)wp_options(malicious code in siteurl, home, active_plugins)wp_users(unauthorized administrator accounts)wp_postmeta(injected metadata)
- Look for malware patterns:
- Base64 encoded strings:
eval(base64_decode...) - Suspicious iframes:
<iframe src= - External script calls:
<script src="http://suspicious-domain.com" - Spam keywords: “viagra”, “casino”, “cheap-product”
- Base64 encoded strings:
- Remove malicious entries carefully:
- Never delete entire database tables
- Remove only the specific malicious content
- Test your site after each modification
Database malware removal tools:
- Better Search Replace plugin (find/replace malicious code)
- WP-CLI (command-line database search)
- phpMyAdmin (manual search and cleanup)
Step 5: Remove Backdoors & Unauthorized Access
Cleaning visible malware is half the job. Eliminating backdoors prevents reinfection.
Critical backdoor removal steps:
- Delete unauthorized user accounts:
- Go to Users in wp-admin
- Check for admin accounts you didn’t create
- Delete any suspicious users
- Change passwords for ALL remaining users
- Regenerate security keys:
- Visit https://api.wordpress.org/secret-key/1.1/salt/
- Copy the generated keys
- Replace the security keys in
wp-config.php - This logs out all users and kills old sessions
- Check file permissions:
- Directories should be 755
- Files should be 644
wp-config.phpshould be 440 or 400- Never use 777 (wide open security hole)
- Scan for backdoor files:
- Search for unusual
.phpfiles in uploads - Look for files like:
wp-config-backup.php,wp-login-old.php - Check for hidden files starting with
. - Review recently modified files
- Search for unusual
- Review plugin/theme authenticity:
- Delete nulled (pirated) themes/plugins immediately
- Verify all plugins/themes from official repositories
- Check plugin code reviews for known backdoors
Common backdoor file examples:
wp-content/uploads/suspicious.php(PHP files shouldn’t be in uploads!)wp-includes/wp-tmp.php(fake WordPress file)- Theme files with:
eval($_POST['cmd'])or similar - Files named to blend in:
wp-config-sample.php,readme-backup.php
Step 6: Update Everything & Patch Vulnerabilities
Outdated software is how hackers got in. Patching stops repeat attacks.
Complete update checklist:
- Update WordPress core:
- Dashboard → Updates
- Install latest WordPress version
- Never run outdated WordPress
- Update all plugins:
- Plugins → Installed Plugins
- Update every plugin
- Delete unused/inactive plugins (still vulnerable!)
- Replace abandoned plugins
- Update themes:
- Appearance → Themes
- Update active theme and installed themes
- Delete unused themes (except one default as backup)
- Update PHP version:
- Check PHP version in Dashboard → Site Health
- Contact hosting to upgrade to PHP 8.0+ if on 7.4 or older
- Old PHP versions have unpatched security holes
Why updates matter:
- 80% of WordPress hacks exploit known vulnerabilities in outdated plugins
- Security updates patch holes hackers actively exploit
- Each day you delay updates, more hackers discover your vulnerabilities
- Automated bots scan millions of sites daily for outdated software
How to Prevent WordPress Malware Infections
Cleaning malware is half the battle. Preventing reinfection requires comprehensive security.
Strong Passwords & Two-Factor Authentication
Weak passwords are the number one entry point for WordPress hacks.
Password security best practices:
- Minimum 16 characters combining uppercase, lowercase, numbers, symbols
- Never reuse passwords across multiple sites
- Use a password manager (1Password, Bitwarden, LastPass)
- Change all passwords immediately after malware cleanup
Two-factor authentication (2FA) setup:
- Install a 2FA plugin:
- Wordfence Login Security (free, popular)
- Two-Factor (official WordPress.org plugin)
- Google Authenticator (reliable option)
- Enable 2FA for all administrator accounts
- Use authenticator apps, not SMS (SMS can be intercepted)
- Store backup codes securely
Additional authentication hardening:
- Limit login attempts (blocks brute force attacks)
- Rename wp-admin login URL
- Disable XML-RPC if not needed
- Require strong passwords for all user roles
Install Security Plugins & Firewalls
Security plugins provide active defense against attacks.
Top WordPress security plugins:
Wordfence Security (7+ million installs)
- Real-time firewall blocking attacks
- Malware scanner with threat intelligence
- Brute force protection and country blocking
- Two-factor authentication included
Sucuri Security (Industry leader)
- Cloud-based firewall
- DDoS protection and attack mitigation
- Post-hack cleanup assistance
- Security monitoring and alerts
iThemes Security (User-friendly)
- 30+ security features in one plugin
- Brute force protection and user action logging
- File change detection
- Database backups and scanning
What security plugins do:
- Block malicious traffic before it reaches WordPress
- Monitor file changes alerting you to unauthorized modifications
- Scan for malware automatically
- Prevent brute force attacks by limiting login attempts
- Hide WordPress version making targeted attacks harder
At WebFixHQ, every site we secure gets firewall protection and malware monitoring built in. Our Premium Shield plan includes 24/7 malware monitoring with instant alerts and weekly security updates, so problems get caught before they break your site.
Set Correct File Permissions
Proper file permissions prevent hackers from modifying WordPress files.
Recommended WordPress file permissions:
| Location | Permission | Purpose |
|---|---|---|
| Directories | 755 | Read and execute access, write only for owner |
| Files | 644 | Read access for all, write only for owner |
| wp-config.php | 440 or 400 | Most restrictive (critical credentials inside) |
| .htaccess | 644 | Apache configuration needs read access |
How to set permissions via FTP:
- Connect to your site via FTP (FileZilla, Cyberduck)
- Right-click on a file/folder → File Permissions
- Enter the numeric code (755, 644, etc.)
- For folders, enable “Recurse into subdirectories”
Additional file security:
- Disable PHP execution in uploads directory
- Protect wp-config.php from browser access
- Disable directory browsing
Regular Backups: Your Last Defense
Even with perfect security, backups are essential for disaster recovery.
Comprehensive backup strategy:
What to backup:
- Complete WordPress files (core, themes, plugins, uploads)
- Entire database with all tables
- Configuration files (wp-config.php, .htaccess)
- Server configurations if you have VPS
Backup frequency:
- Daily backups for active sites with frequent updates
- Weekly backups for static sites
- Before any changes (pre-update backups)
- Before malware cleanup
Where to store backups (never only on your server!):
- Cloud storage: Google Drive, Dropbox, Amazon S3
- Remote FTP/SFTP server separate from hosting
- Local computer (external hard drive)
- Backup service: VaultPress, BlogVault, UpdraftPlus Premium
Backup automation tools:
- UpdraftPlus (free, scheduled backups to cloud)
- BackWPup (free, comprehensive solution)
- Duplicator (free, backup and migration)
- VaultPress / Jetpack Backup (premium, real-time)
Test your backups regularly:
- Restore a backup to staging quarterly
- Verify all files and database restore correctly
- Confirm images, plugins, and functionality work
- Document the restoration process
Monitor Your Site for Suspicious Activity
Early detection prevents small issues from becoming major breaches.
What to monitor continuously:
File integrity monitoring:
- Alerts when WordPress core files change
- Notifications of new files in WordPress
- Tracking modifications to critical files
- Detection of unauthorized theme/plugin installations
User activity logging:
- Track all admin login attempts
- Log user actions (post deletions, plugin activations)
- Alert on new user account creations
- Monitor privilege escalation
Traffic and behavior monitoring:
- Unusual traffic spikes (potential DDoS)
- Suspicious bot activity
- Geographic traffic patterns
- Failed login patterns
Security monitoring tools:
- Wordfence (built-in activity logging)
- Sucuri (external monitoring)
- Google Search Console (alerts for security issues)
- Uptime monitoring (UptimeRobot, Pingdom)
How to Remove Your Site from Google Blacklist
Cleaning malware is half the recovery. You must remove security warnings or stay blacklisted.
Understanding Google Safe Browsing Blacklist
When Google detects malware, it adds you to the Google Safe Browsing blacklist, triggering red warnings in Chrome, Firefox, and Safari.
Impact of Google blacklisting:
- 95% traffic loss as visitors flee warnings
- Search ranking devastation (Google removes you from results)
- Ad account suspension (Google Ads, AdSense disabled)
- Revenue collapse for online stores
- Reputation damage lasting months
How sites get blacklisted:
- Malware detected by Google’s automated crawlers
- Phishing pages harvesting credentials
- Drive-by download attacks
- Compromised sites distributing malware
- Hacked to display spam
Google Search Console Blacklist Removal Process
Step by step blacklist removal:
1. Verify complete malware cleanup first
- Run multiple malware scanners (Wordfence, Sucuri)
- Manually review all flagged files
- Test all pages for redirects and suspicious content
- Confirm no backdoors remain
You cannot request review until malware is completely removed. Google verifies cleanup before removal.
2. Set up Google Search Console (if not already)
- Visit search.google.com/search-console
- Add your site property
- Verify ownership via HTML file, DNS record, or Google Analytics
3. Check Security Issues report
- Navigate to Security & Manual Actions → Security Issues
- Review all detected problems
- Note specific URLs and malware types
4. Request a security review
- After complete cleanup, click “Request Review”
- Explain what happened: “Site was compromised by [type of attack]”
- Detail your cleanup: “Removed all malware, updated plugins, hardened security”
- List prevention measures: “Implemented 2FA, firewall, monitoring”
5. Wait for Google’s review (typically 3-7 days)
- Google manually verifies your cleanup
- Most requests processed within 72 hours
- Approved sites removed from blacklist immediately
- Rejected requests receive feedback on remaining issues
6. If rejected, address feedback and resubmit
- Review Google’s rejection reasons carefully
- Clean any issues they identified
- Request another review after addressing problems
Pro tip: Google prioritizes reviews that demonstrate thorough cleanup and prevention measures. Include specific security improvements in your review request.
Blacklist removal too complex or taking too long? WebFixHQ Secure Protect plan handles the entire Google review process, typically achieving removal within 24-48 hours through proven documentation methods. Includes 30-day reinfection warranty.
Browser Security Warning Removal
Different browsers cache blacklist data differently.
Chrome / Edge (use Google Safe Browsing):
- Removal happens automatically after Google approves your review
- Usually updates within hours of approval
- Hard refresh may be needed: Ctrl+Shift+R (Windows) or Cmd+Shift+R (Mac)
Firefox (uses Google Safe Browsing + own list):
- Usually syncs with Google within 24-48 hours
- Rare cases require separate report at mozilla.org
Safari (uses Google Safe Browsing):
- Syncs with Google Safe Browsing updates
- May take up to 48 hours to clear cache
Clear warning faster:
- Ask visitors to clear browser cache and cookies
- Use different browser temporarily
- Share direct links bypassing search results
WordPress Security Best Practices for Long-Term Protection
One-time cleanup isn’t enough. Maintaining security requires ongoing vigilance.
Choose Secure WordPress Hosting
Your hosting provider is your first line of defense.
What secure hosting provides:
- Server-level firewalls blocking attacks
- Automatic malware scanning
- DDoS protection
- Isolated hosting environments
- Automatic backups
- PHP version management
- SSL certificates included
Managed WordPress hosting providers (recommended):
- WP Engine (enterprise-level security, daily backups)
- Kinsta (Google Cloud infrastructure, hack fix guarantee)
- SiteGround (proactive monitoring, daily backups, free CDN)
- Flywheel (developer-friendly, security hardening)
Avoid cheap shared hosting that:
- Packs hundreds of sites on single servers
- Provides no malware scanning
- Uses outdated PHP versions
- Offers poor support during emergencies
Use Only Trusted Themes & Plugins
Nulled (pirated) themes and plugins are the number one source of backdoors.
Why nulled themes/plugins are dangerous:
- Contain intentional backdoors for hacker access
- Include obfuscated malware in code
- Cannot receive security updates
- Often phone home to attacker servers
- Violate licensing and legal terms
Safe plugin/theme practices:
- Only install from WordPress.org official repository
- Purchase premium themes/plugins from official developers
- Check last update date (avoid abandoned plugins)
- Read reviews and ratings before installing
- Verify active installations (popular plugins better maintained)
- Research developer reputation
Red flags for untrustworthy plugins/themes:
- “Nulled” or “Cracked” versions from torrent sites
- Free premium plugins from unknown websites
- Not updated in 2+ years
- Mostly negative reviews mentioning security
- Developer website doesn’t exist or looks suspicious
- No documentation or support offered
Limit User Permissions & Access Levels
The principle of least privilege. Users should have minimum access required.
WordPress user roles:
| Role | Capabilities | Security Risk |
|---|---|---|
| Administrator | Full control, install plugins/themes | HIGHEST (use sparingly) |
| Editor | Publish and manage all posts/pages | MEDIUM (cannot install code) |
| Author | Publish own posts only | LOW (limited to content) |
| Contributor | Write posts, cannot publish | VERY LOW (needs approval) |
| Subscriber | Read content, manage profile | MINIMAL |
Access control best practices:
- Limit administrators to 1-2 trusted people
- Use Editor role for content managers (not Administrator)
- Create custom roles with specific permissions
- Regularly audit user list and remove inactive accounts
- Require strong passwords for all user levels
- Enable 2FA for administrators and editors
Stay Informed About WordPress Security Threats
Security is an ongoing process, not one-time setup.
Stay current on vulnerabilities:
- Subscribe to WPScan Vulnerability Database notifications
- Follow Wordfence Blog for security news
- Join WordPress security forums
- Enable security plugin email alerts
- Monitor CVE databases for WordPress vulnerabilities
React quickly to security news:
- Update plugins immediately when security patches release
- Apply emergency patches before exploits spread
- Read security bulletins about attacks
- Understand emerging attack vectors
When You Need Professional WordPress Security Services
DIY malware removal works for simple infections, but professional help prevents catastrophic mistakes.
Your site needs professional help when:
- You’ve attempted cleanup but malware keeps returning
- Google blacklist warning persists after 7+ days
- You can’t identify the malware source or how hackers got in
- Database is infected and you fear breaking your site
- Your site handles sensitive customer data (stores, memberships)
- You lack technical expertise to safely edit files and database
- You’re losing significant revenue during downtime
- Your hosting provider won’t help or charges excessive fees
- Multiple infections suggest persistent backdoors
What WebFixHQ malware removal provides:
Complete threat elimination:
- Deep scanning finds malware DIY tools miss
- Backdoor removal prevents reinfection
- Database cleanup without breaking functionality
- Safe code editing preserving customizations
Google blacklist removal:
- Search Console review requests with proven success
- Typically 24-48 hour removal vs. 7-14 days DIY
- Professional documentation for faster approval
Security hardening:
- Vulnerability patching closing entry points
- Firewall configuration blocking attacks
- Monitoring setup catching future issues early
- Prevention strategies specific to your site
Peace of mind guarantees:
- Reinfection warranties (14-60 days depending on plan)
- Data protection with pre-work backups
- Expert support if issues arise after cleanup
- Documentation of what was fixed and why
Cost-benefit reality:
- DIY cleanup: Free but risks making it worse, data loss, extended downtime
- Professional cleanup: $30-$75 for most sites, fixed same-day, guaranteed results
- Extended downtime cost: $300-$500 per day for small businesses
- Reputation damage: Incalculable long-term customer trust loss
WebFixHQ Malware Removal becomes essential when complexity exceeds your expertise, stakes are too high for experimentation, or you value your time more than the service cost.
WordPress Security Checklist: Your Protection Plan
Save this checklist and review quarterly to maintain strong security.
Do Today (Immediate Security Actions)
Install security plugin
- Wordfence, Sucuri, or iThemes Security
- Enable firewall and malware scanning
- Configure email alerts for suspicious activity
Enable two-factor authentication
- Install 2FA plugin for all administrators
- Use authenticator app (not SMS)
- Store backup codes securely
Update everything immediately
- WordPress core to latest version
- All plugins to current releases
- Active theme to newest version
- Delete unused plugins and themes
Change all passwords
- Administrator accounts (16+ characters)
- FTP/SFTP credentials
- Database passwords
- Hosting control panel access
Set up automated backups
- Install UpdraftPlus or BackWPup
- Configure daily backups to cloud storage
- Test backup restoration once
- Keep 30 days of backup history
Review user accounts
- Delete unknown or suspicious users
- Remove unnecessary administrator accounts
- Verify all user emails are legitimate
- Audit user permissions
Weekly Security Maintenance
Check for updates
- Review available updates in dashboard
- Read changelogs for security patches
- Update high-priority security releases immediately
- Test major updates on staging first if possible
Review security logs
- Check firewall blocked attacks
- Monitor failed login attempts
- Review file change alerts
- Investigate suspicious activity
Scan for malware
- Run security plugin scan
- Check for new unknown files
- Verify core file integrity
- Review database for injections
Monitor site performance
- Check load times for unusual slowness
- Review server resource usage
- Investigate bandwidth spikes
- Test key functionality
Monthly Security Tasks
Full site backup verification
- Download complete backup
- Test restoration on staging site
- Verify all files and database intact
- Document restoration process
Security audit
- Review all installed plugins (delete unused)
- Check theme for updates or issues
- Audit user accounts and permissions
- Review hosting security features
Password rotation
- Change administrator passwords
- Update FTP/database credentials
- Rotate API keys and tokens
- Update emergency contact information
Performance and security review
- Run Google PageSpeed Insights
- Check Google Search Console for security issues
- Review uptime monitoring reports
- Test SSL certificate expiration date
Quarterly Security Deep Dive
Comprehensive security assessment
- Professional security scan (Sucuri SiteCheck)
- Review server logs for patterns
- Audit all third-party integrations
Disaster recovery testing
- Full backup restoration test
- Document time required for recovery
- Update emergency procedures
- Train team on incident response
Software and infrastructure review
- Evaluate hosting provider performance
- Check PHP version (upgrade if outdated)
- Review CDN and caching configuration
- Assess need for dedicated resources
Security policy updates
- Review and update password policies
- Train team on new security threats
- Update emergency contact information
- Document security procedures
Secure Your WordPress Site Today
WordPress security isn’t optional. It’s essential for protecting your business, customers, and reputation.
Whether you implement these security measures yourself or partner with professional security services, the critical factor is taking action before hackers strike.
Every day your site runs without proper security:
- Hackers scan for vulnerabilities to exploit
- Outdated plugins become easier targets
- Weak passwords face thousands of brute force attempts
- Your data and customer information remain at risk
Immediate action steps to protect your site:
- Install a security plugin today (Wordfence or Sucuri recommended)
- Enable two-factor authentication for all administrators
- Update WordPress, plugins, and themes to current versions
- Set up automated daily backups with offsite storage
- Change all passwords to 16+ character strong passwords
- Review and remove unused plugins, themes, and user accounts
- Document your security procedures and emergency contacts
Is your WordPress site already infected with malware? Don’t risk making it worse with DIY attempts that could cause permanent data loss or prolonged downtime.
WebFixHQ Security & Malware Removal eliminates every trace of malware, removes Google blacklist warnings, and implements comprehensive security hardening. Same-day service with reinfection warranties.
Choose your protection plan:
- Rapid Clean ($30): Complete malware removal, 14-day reinfection warranty
- Secure Protect ($50): Advanced hardening + Google blacklist removal, 30-day warranty
- Premium Shield ($75/month): 24/7 monitoring + weekly updates, 60-day warranty
Prevention costs less than recovery. The average WordPress hack costs:
- $300-$500 daily revenue loss during downtime
- $150-$500 professional cleanup fees
- $1,000-$5,000 reputation damage and trust rebuilding
- Potential legal liability if customer data compromised
- Permanent SEO ranking loss if Google keeps you blacklisted
Compare that to $30-$75 for professional security hardening that prevents attacks before they happen.
Your WordPress site is more than code and content. It’s your business’s digital foundation, your brand’s reputation, and often your primary revenue source.
Don’t wait for the “Deceptive Site Ahead” warning. Secure your WordPress site today with proper malware removal, comprehensive security hardening, and ongoing monitoring that catches threats before they become disasters.
Experiencing malware infections, security warnings, or suspicious behavior right now? Get immediate expert help that removes every trace of malware, restores Google trust, and implements bulletproof security. Same-day service backed by reinfection warranties.
Get WordPress Security Help Now or chat with our live assistant to describe your problem and get instant guidance.